

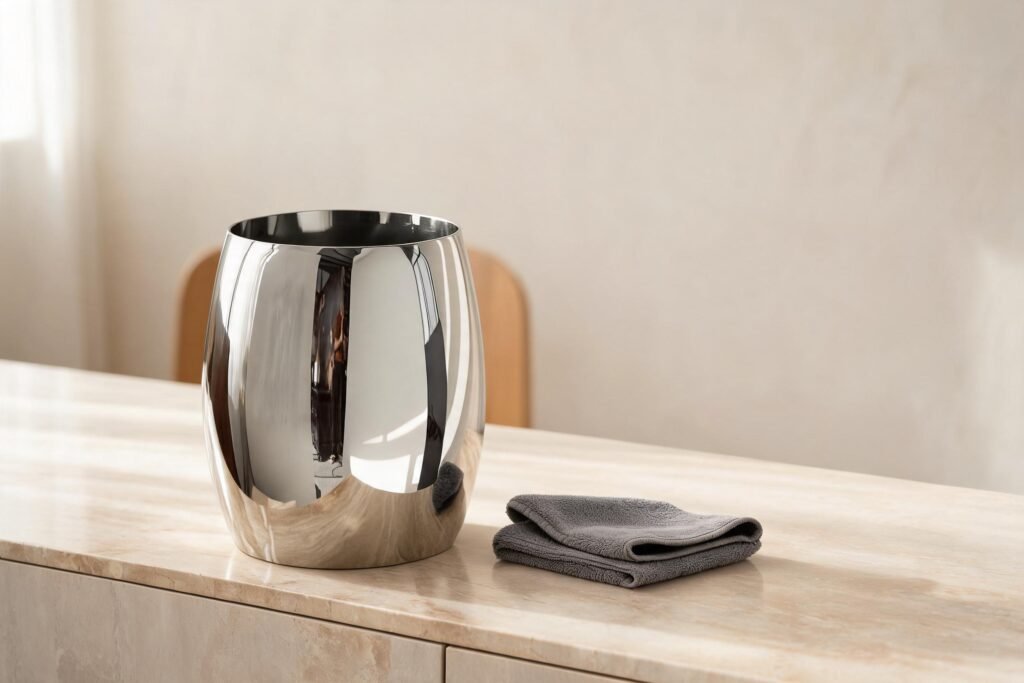
Four days before Thanksgiving the ice bucket comes down from the top shelf and the shine is gone. There is a pale ring just above the bottom, a grey smear where it gets carried, and one cloudy patch that survives a rinse. Nothing is broken. That film is tap water that dried where it stood, and cleaning a stainless steel ice bucket like this one is mostly about lifting minerals off the surface instead of grinding them across it.
The short answer: warm water with two or three drops of neutral dish soap, a soft sponge, a hot rinse, then dry at once in vertical strokes with a microfiber cloth. Vinegar is for mineral rings only, thirty seconds at most. No chlorine bleach, no scouring pad, no overnight soak.
The routine below takes fifteen minutes the first time and four minutes after that. It is written around the stainless steel ice bucket that will actually be on the table this month: a mirror-polished, lidless one with a thin rolled rim and a body that swells outward below the mouth.
Start With the Shape, Not the Stain
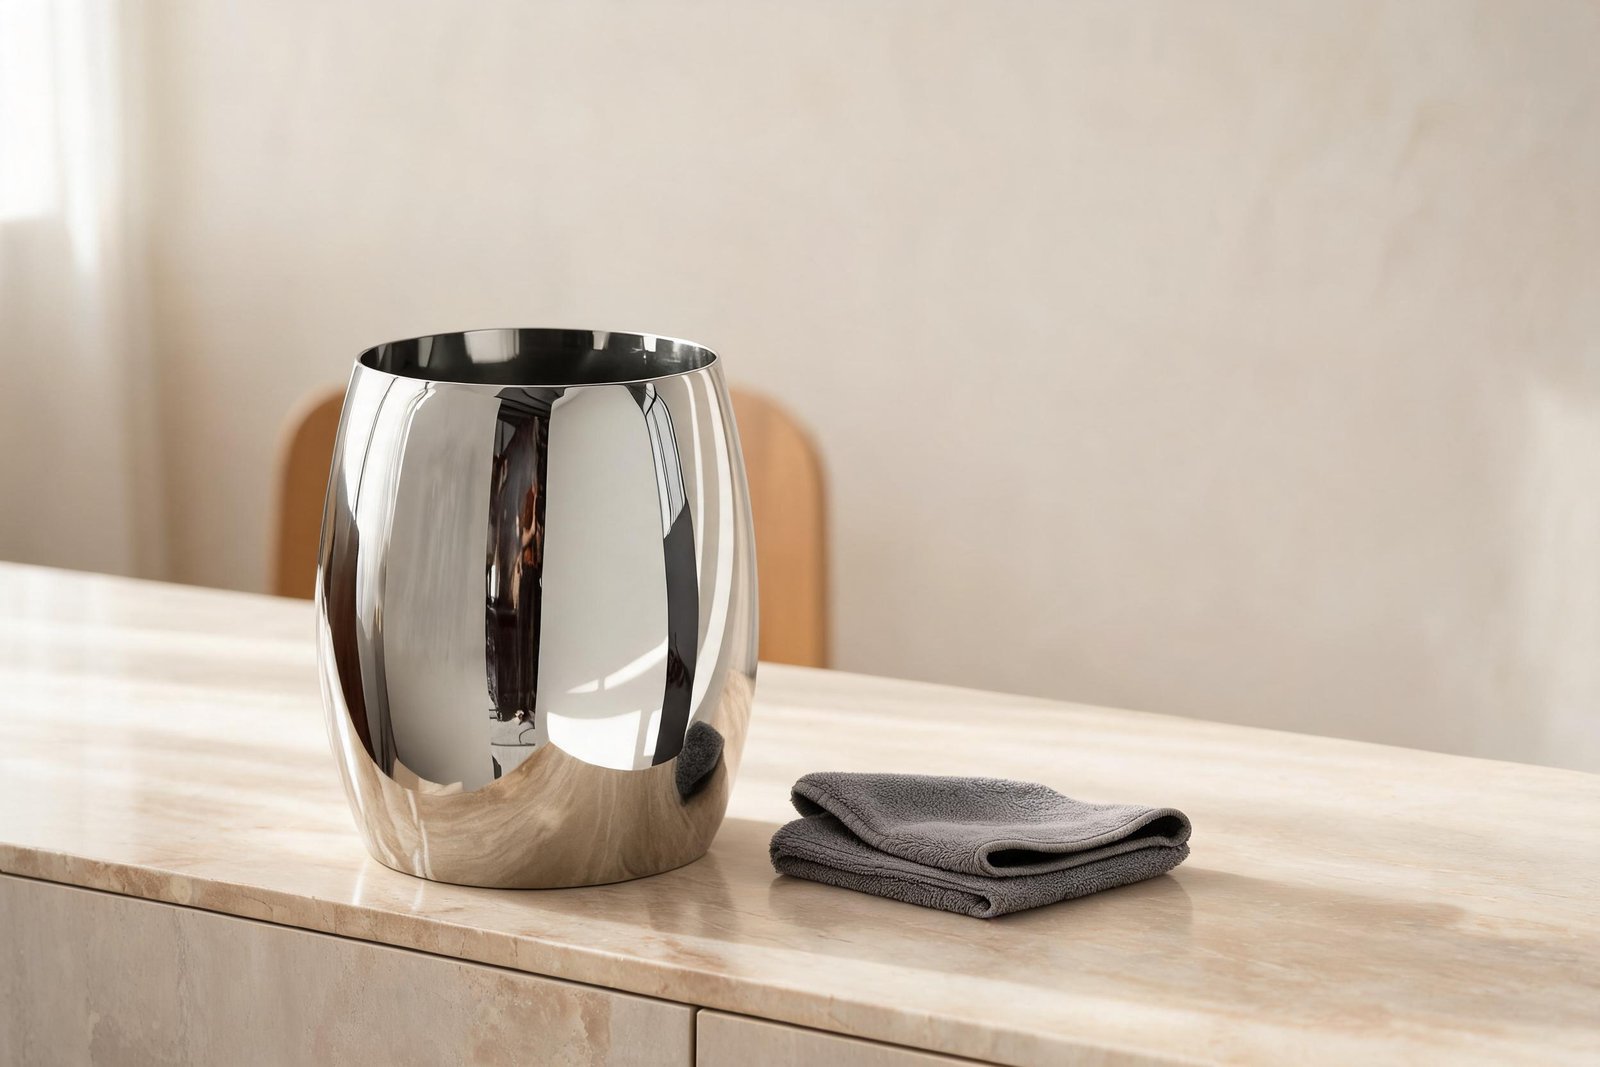
A stainless steel ice bucket that swells below the mouth gives a cloth three tight spots: the bulge itself, the seam under the thin rolled rim, and the small recess above the foot. Almost all cleaning damage on this profile happens in those three places, not on the open wall.
The 126 sits 24 cm tall with a 19 cm rim in its French profile, and 25 cm by 18 cm in the European one. The mouth is the narrowest part of the body: the wall swells outward as it drops, reaches its widest point about two thirds of the way down, then curves back to a foot narrower than the mouth. That lower curve is where ice melt pools and where the first ring forms.
Two measurements decide how you wash it. The first is sink depth: most kitchen basins are shallower than this stainless steel ice bucket is tall, so it goes into the basin on its side or gets filled where it stands and carried to the sink half full. The second is the shape of the base. The foot is smaller than the bulge above it, which leaves a shallow recess underneath that holds rinse water long after the wall looks dry. Turn it over the sink and watch what comes out. There is also no handle on this model, so a full bucket gets carried against a cloth or with both hands, and the smudges land exactly where the palms sit.
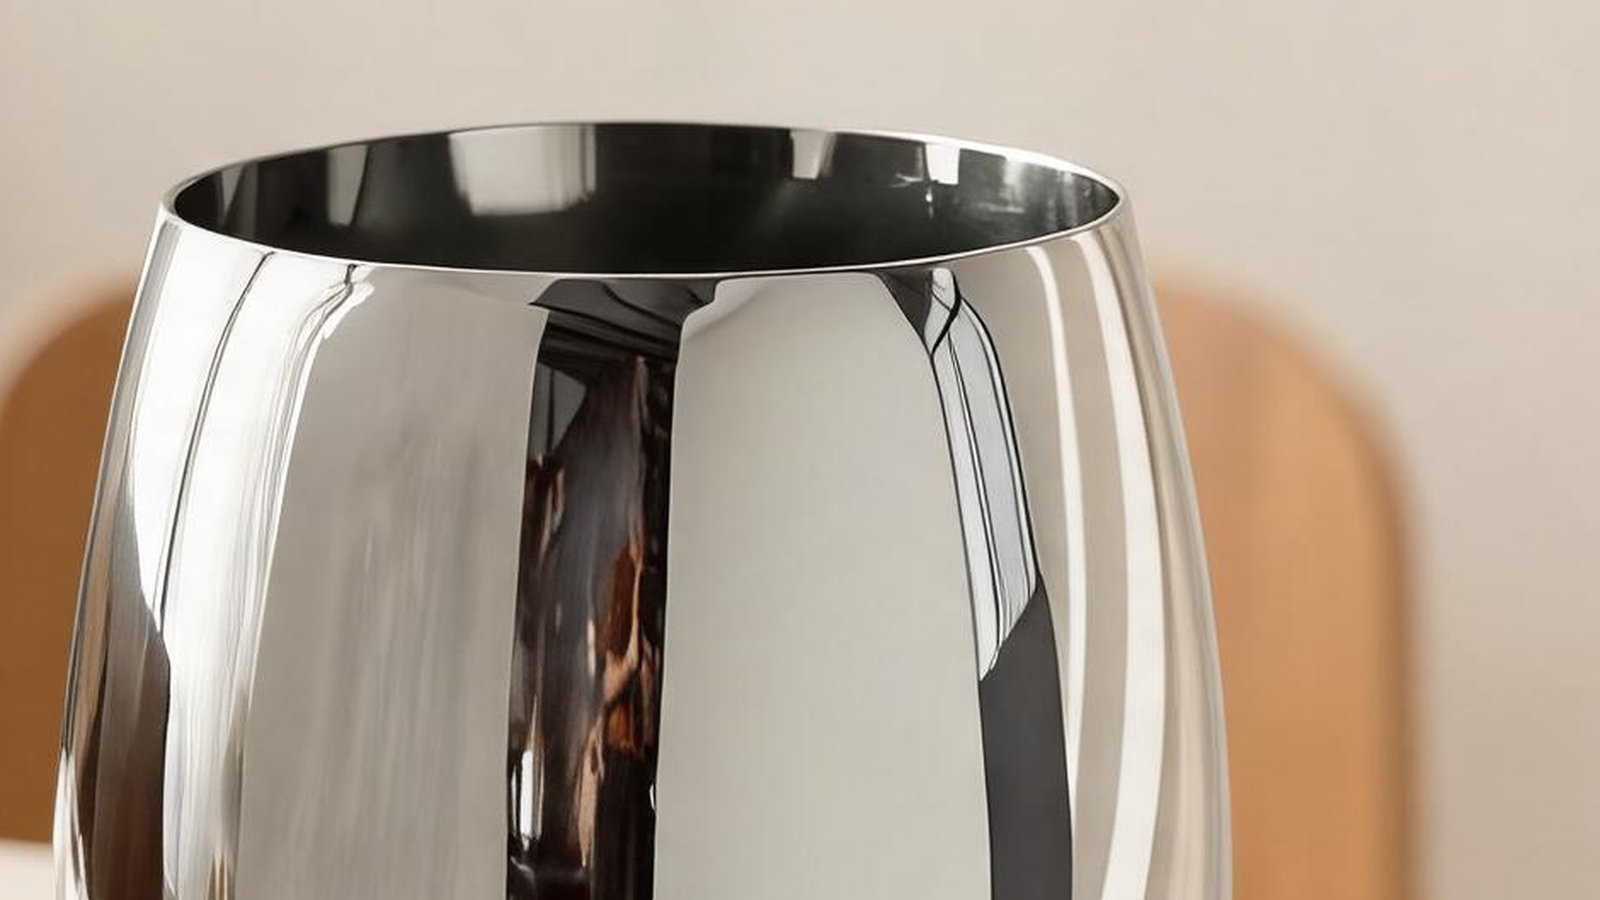
No lid means the inside also collects dust between uses, so the wash is about more than the water ring. If dust is the recurring problem, see the lidded table ice bucket (JX-SSIB-130) here; a cover shortens the routine instead of lengthening it.
What Actually Happens at the Water Line
Tap water leaves a ring because the calcium and magnesium carbonate dissolved in it has nowhere to go when the water evaporates. It stays on the steel as a thin white film, and on a stainless steel ice bucket with a mirror polish that film sits on a surface with no texture to hide in, so it reads as a ring within hours.
The steel underneath is not the problem. A stainless steel ice bucket resists water because of a chromium oxide film a few nanometres thick that forms on its own and re-forms when oxygen reaches the surface, a process set out in the passivation entry on Wikipedia). Water, soap and ice do not remove that film. Chlorides, strong acids and hard abrasion do.
What the polish changes is visibility, not chemistry. A mirror finish is typically flattened to a roughness near 0.05 to 0.1 micrometres; a brushed finish sits nearer 0.4 to 1.0. Both are the same alloy, but the smoother surface reflects the room in clean vertical stripes, and any film on top scatters that reflection. A brushed bucket can carry the same mineral load and look fine from across the room.
Hardness decides how often you come back with a cloth. Water above roughly 120 mg per litre of calcium carbonate is commonly reported as hard, and at that level a stainless steel ice bucket rinsed and left to air dry will spot every time. If spots return within a day of a careful wash, the water is the cause, not the technique.
Three Faults to Read Before You Touch a Cloth
Hold the stainless steel ice bucket near a window and look for three things: white rings at the water line, grey haze on the side that gets carried, and small dark pinpricks that do not wipe away. Rings and haze are films and come off with soap. Pinpricks are pits, and no cloth will remove them.
Rings have a hard edge and feel slightly rough under a fingertip. Fingerprint haze is softer, usually on one flank, and comes from skin oil holding dust. Both sit on top of the oxide film.
Pits are different in kind. They are small craters in the metal, often under a fleck of rust, and they appear where salt, chlorine or acidic residue sat long enough to break the film in one local spot. If a fingernail catches on a dark dot after washing, that is a pit. Wiping harder dulls the area around it and leaves the pit exactly where it was.
Step 1: Warm Water, Neutral Soap, and Nothing Abrasive
Fill a basin or the stainless steel ice bucket itself with warm water and two or three drops of neutral dish soap. Wipe the inside first, then the underside of the rim, then the outside from top to bottom, using a soft sponge or a microfiber cloth. Rinse with water as hot as your hands can stand and do not let it stand afterwards.
Neutral matters. Citrus, ammonia and vinegar-based all-purpose sprays are acidic or alkaline enough to dull a polish if they sit, and dish soap at a normal dilution is close to neutral. Three drops is enough for a stainless steel ice bucket this size; more soap means more residue, and residue is what dries into a film.
Nothing abrasive belongs on the polished face. Steel wool and green scouring pads shed silicon carbide grit that embeds in the softer steel, and those particles show up later as small rust freckles that were not there before. A melamine sponge is also a fine abrasive, whatever the packaging claims.
For the underside of the rim, fold the cloth into a corner and run it once around the inside of the lip, then rinse. A soft nylon brush works for that seam too. It is the part of the wash most people skip and the part that turns stale a week later.
Step 2: Stainless Steel Water Spots Removal Without Etching
Mix white vinegar and water one to one, dab it onto the ring with a cloth, and keep it there under half a minute. Rinse with plenty of water straight away, then dry. Vinegar dissolves the mineral ring; left on the steel, the same acid dulls the polish.
Household white vinegar is about five percent acetic acid, so a one-to-one mix lands near two and a half percent. That is enough to soften calcium carbonate in seconds and mild enough that a short contact does not attack the oxide film. The failure mode is always time: a cloth soaked in vinegar and left sitting inside the stainless steel ice bucket overnight leaves a dull patch shaped like the cloth.
Rinse a stainless steel ice bucket with cool water first if the steel is warm, then finish with hot. In a hard water area, run the final rinse with distilled or filtered water, which removes the minerals before they can dry. It sounds fussy and it is the single change that stops the ring returning the same evening.
Never mix vinegar with chlorine bleach, in the stainless steel ice bucket or in the sink. Acid plus hypochlorite releases chlorine gas, and a small kitchen fills with it faster than expected.
Baking Soda Stainless Steel Cleaner: Texture, Not Shine
A paste of baking soda and water is useful on dried sugar, sticky wine residue and the matte underside of the foot. Keep it off the mirror wall. Sodium bicarbonate is a mild abrasive, and rubbed dry on a polished face it leaves a directional haze that is harder to remove than the stain it was meant to fix. Use it wet, use light pressure, and rinse thoroughly.
Step 3: How to Clean Mirror Polished Stainless Steel and Dry It Flat
Dry a stainless steel ice bucket with two microfiber cloths: one damp for the rinse pass, one dry for the polish pass, both moving vertically so the strokes follow the reflected line of the wall. Drying is what prevents the next ring, not the soap.
Two cloths rather than one because a single cloth reaches saturation and starts pushing water around instead of lifting it. Fold each into a pad so the pressure is even, work from the rim down, and turn the pad to a clean face whenever it feels damp. On a polished surface the vertical direction matters: a stray fibre lines up with the reflections instead of cutting across them.
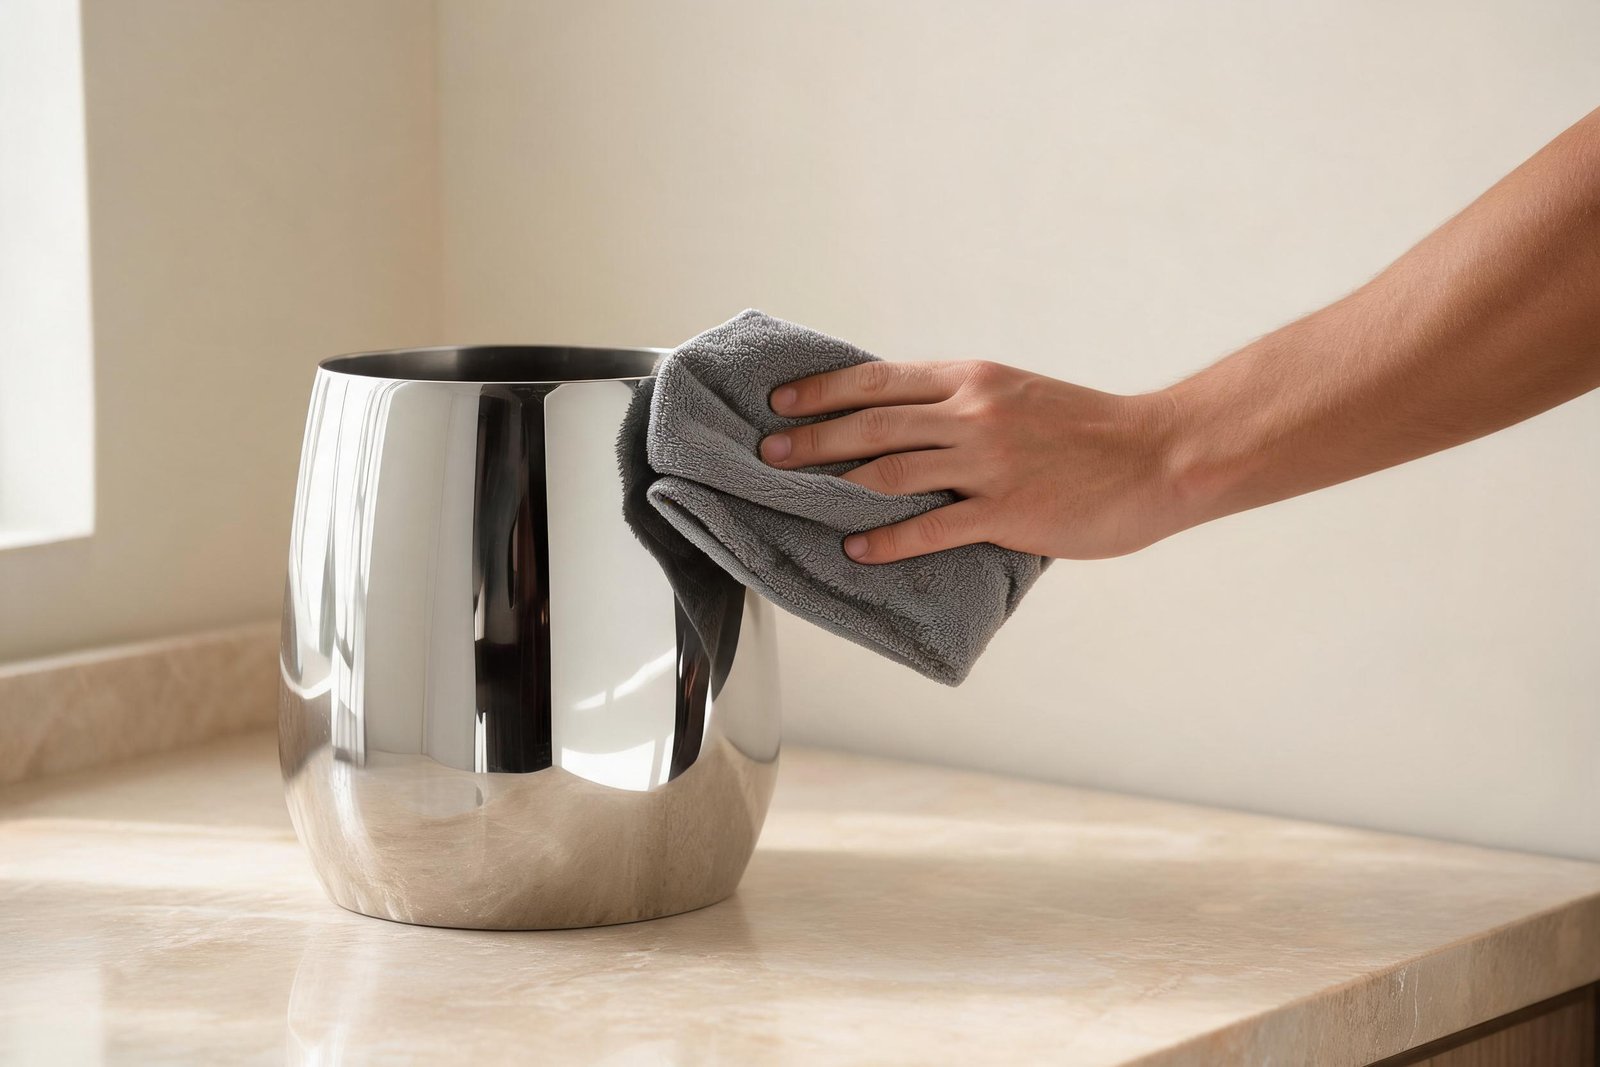
Paper towels are the wrong tool. They shed lint that shows against dark reflections, and wood-pulp fibre is harder than it feels when pressed dry against steel. A clean low-lint microfiber cloth costs less than a roll of towels and lasts years.
Finish by buffing the wall with the dry cloth at light pressure, then check the surface at eye level against the window. If haze remains after a proper dry, either the cloth was dirty or the rinse water was hard. Neither is fixed by pressing harder.
How to Remove Stains From Polished Stainless Steel Without Rubbing Harder
Pressure is the wrong variable. Marks on polished steel respond to dwell time and chemistry: hold a vinegar-damp cloth on the spot for twenty seconds, rinse, then dry. Rubbing a mineral film with a dry cloth for a minute does less than one short wet contact, and it risks the polish.
Step 4: Store It Dry, Open, and Alone
Put the stainless steel ice bucket away completely dry, with nothing stacked inside it and no plastic bag over the rim. A closed bag traps moisture against the steel and is the fastest route to a musty interior and a dull wall.
The open mouth is an advantage if air can move through it. Stand the stainless steel ice bucket upright on a shelf, or invert it on a clean cloth if shelf space is tight, and give it a day of air before it goes into a closed cupboard. In a humid basement or a garage that swings in temperature, condensation forms on cold steel as soon as the air warms, so an indoor cupboard is the better home.
Nothing gets nested inside it. A stack of coasters or a spare bottle resting on the bottom curve scratches the one area you cannot see and cannot easily polish. If the shelf is dusty, drape a linen cloth over the mouth rather than sealing it in plastic.
What Never Goes Near It
Chlorine bleach, hydrochloric descalers, oven cleaners and any pad harder than the steel have no place on a stainless steel ice bucket. Chloride is what drives stainless steel pitting corrosion: it breaks the oxide film in one small spot and the pit grows beneath a surface that still looks intact elsewhere.
The mechanism is described in the Wikipedia entry on pitting corrosion. Chloride ions concentrate in a tiny breach, the local environment turns acidic, and the pit deepens while the surrounding steel stays passive. Grade 304, the alloy used for most tableware, has no molybdenum to slow that process; grade 316 does, which is why marine fittings use it.
In a kitchen the usual sources are splash from a bleach-based spray, a dishwasher tablet with chlorine in it, salted ice left in the stainless steel ice bucket overnight, and pool water on a trolley. Salt is the quiet one. A bucket used for salted ice at a party and rinsed only with cold water carries a chloride film into storage, and weeks later there is a line of pits at the water line.
Dishwasher: What Actually Happens to a Mirror Bucket
It will survive the cycle and come out duller. Dishwasher detergent runs strongly alkaline and the drying stage bakes minerals onto the surface, so a mirror-polished stainless steel ice bucket usually returns spotted and slightly hazy. Hand washing takes four minutes and keeps the polish.
A dishwasher wash sits somewhere around 55 to 70 °C with detergent near pH 10 to 12, and many tablets still carry chlorine bleach. None of that dissolves the steel, but the combination attacks the polish and leaves the stainless steel ice bucket wet in the foot recess where the spray does not reach. Rinse aid adds a film of its own. If it goes in anyway, use the top rack, switch off heated dry, and hand-dry the moment the cycle ends.
How to Clean Stainless Steel Ice Bucket in Four Steps
| Step | What you do | Tool | Time | What to check before moving on |
|---|---|---|---|---|
| 1. Wash | Warm water, two or three drops of neutral soap, inside first, then rim underside, then outside top to bottom | Soft sponge or microfiber pad | 3 min | No soap film left when the surface is rubbed |
| 2. Stainless steel water spots removal | Vinegar and water one to one, dab on the ring, rinse at once | Cloth plus distilled water for the final rinse | 30 sec contact | Ring gone under a window, no dull patch behind it |
| 3. Dry and polish | Damp cloth pass, then dry cloth pass, both vertical | Two microfiber cloths | 2 min | No haze at eye level against the light |
| 4. Store | Bone dry, open mouth, nothing inside, indoor cupboard | Linen cloth to cover if the shelf is dusty | 1 min | Foot recess dry when tipped |
The order is not decorative. Washing before spot treatment means the vinegar reaches mineral film rather than a layer of grease. Drying before storage means the ring never gets a chance to form. Skip the dry and the other three steps are wasted.
Where This Routine Stops
Four steps handle films, rings and fingerprints on a stainless steel ice bucket. They do not handle scratches, heat discolouration, or water harder than roughly 180 mg per litre, which will re-spot the stainless steel ice bucket within a day however carefully it is dried.
Deep scratches in a mirror polish cannot be removed by hand. They need a polishing compound and a machine, and even then the repaired patch reflects differently from the surrounding wall. A scratch on the outside flank is usually best left alone; polishing it out often makes it more visible.
Heat tint, the straw-coloured stain that appears when steel meets a flame, is an oxide layer rather than a film, so vinegar does nothing to it. It is not a realistic risk for a stainless steel ice bucket, which is worth saying because most cleaning guides for stainless steel are written about cookware and carry advice that does not transfer.
How to Clean Stainless Steel Champagne Bucket: Same Steel, Different Problems
A stainless steel champagne bucket is taller and narrower than a serving bucket, so the base curve is harder to reach and the inside bottom clouds first. The same four steps work, with a soft bottle brush for the base and a longer rinse.
The narrow mouth is the real difference. A hand and a cloth will not reach the bottom of a tall stainless steel ice bucket, so the base gets rinsed but never wiped, and mineral film builds there unchallenged. A nylon brush with a long handle solves it in seconds.
Double-walled vacuum models need one extra rule: do not soak them. The two walls are sealed at the rim, and a long soak pushes water into places that never dry. Wipe, rinse briefly, dry the outside, and leave the interior open to air. For capacity on these shapes, the ice bucket size guide works through how much ice a given mouth actually holds.
Brushed finishes dry along the grain, not vertically. A ribbed surface traps rinse water in every groove, so a cloth corner has to be pulled down each flute once. If a fluted piece shares the shelf, see the ribbed steel vase here and dry it groove by groove before it goes back.
The Bucket These Steps Were Written Around
The 126 is a mirror-polished stainless steel ice bucket with no lid: a thin rolled rim, a body that swells outward below the mouth to its widest point and then curves back to a small foot, and no handle at all, so the wall stays one uninterrupted sheet of steel. It comes in two profiles, 24 × 19 cm and 25 × 18 cm.
The lidless design is why this article spends a whole step on storage. There is no cover to keep dust out and no seal to trap moisture in, so the interior depends entirely on how the stainless steel ice bucket is put away. The missing handle is the second consequence: a full bucket is carried against the bulge with a cloth, which is exactly where grip marks and fingerprints collect.
If the stainless steel ice bucket lives on a bar cart rather than a dining table, fit comes first. The bar cart fit checks cover shelf clearance and the weight of a full bucket, and the bottle size guide covers what fits inside the mouth. Cleaning a stainless steel ice bucket that does not fit the space is wasted effort.
To buy the stainless steel ice bucket in this guide, shop the mirror-polished steel ice bucket (JX-SSIB-126) here. The retail price is $188. The product page carries the current price, the full specification and the care notes, and the wider range sits in the stainless steel collection.
FAQ
Can you put stainless steel in the dishwasher?
Yes, and a mirror-polished stainless steel ice bucket comes out spotted and slightly duller. Alkaline detergent, hot drying and minerals in the rinse water all work against a polished surface. Hand washing four times a year keeps the finish the stainless steel ice bucket was bought for.
How do you get stainless steel water marks out without vinegar?
A paste of baking soda and water lifts light marks if it is kept wet and rinsed well. For heavy mineral rings a dedicated stainless steel cleaner with a mild acid works faster. Distilled water for the final rinse stops the marks returning.
Can white vinegar clean stainless steel without dulling it?
Yes, at one part vinegar to one part water and under thirty seconds of contact. Rinse immediately. Undiluted vinegar left to sit, especially on warm steel, is what dulls a polish, not the vinegar itself.
Is stainless steel pitting safe for drinks?
A pit does not make the stainless steel ice bucket unsafe at room temperature, because the steel leaches nothing into ice. It does mean the oxide film has failed there and will fail again. If a pit weeps rust onto ice, keep the stainless steel ice bucket for bottles only.
How often should a steel ice bucket be washed?
After every use that involved ice and hands, and once a month when it sits empty. A rinse and a dry is enough for ice alone; soap is needed whenever a bottle, salted ice or a garnish has touched the wall.
Does a stainless steel ice bucket with lid stay cleaner between uses?
It stays cleaner of dust, not of water. A lid stops the interior collecting whatever falls from the shelf above, and it traps the moisture left inside, so a lidded stainless steel ice bucket still needs the dry-and-open step before the lid goes back on.
Putting It Back on the Table
The stainless steel ice bucket that comes out of the cupboard on Thanksgiving morning should need four minutes, not a rescue. Once the shape is understood, the sequence stops being a chore: soap for the film, vinegar for the ring, two cloths for the dry, one open shelf for storage. Done in that order, a lidless mirror bucket holds its finish for years, and the only thing anyone notices at the table is the ice.
If the routine has to start somewhere, start with the dry step. It is the cheapest change and the one that keeps the water line from forming at all. Everything else cleans up what drying did not prevent, which is why the order in that table matters more than the products on it.
